Exhibit A: an authentic mid-century (we think late 40's/early 50's) Broyhill dresser
The dresser has dovetailed drawers that are also lined in cedar, is solid wood with a thick wood veneer (not like you see today) and all the drawers worked great. It had some minor damage, including stains and chips and cracks in the veneer, but no matter since I was painting it anyway. Oh, and I got it off Craig's list.


The first thing I did was remove the drawer hardware (which I'm going to sell on eBay... holler if you're interested in some authentic mid-century drawer pulls... I have 12) and sand all of the surfaces with a hand-sander and 150-grit sandpaper (I believe... may have been a little lower grit than that). I just wanted to rough it up a bit and remove any stickiness or debris from the dresser. Then I cleaned it very well to remove all of the dust from sanding and many, many years of use (the amount of regular dust and wood dust from sliding the drawers inside of that thing was impressive).
Once it was clean, I used Elmer's wood filler to fill in the extra holes left by the old drawer hardware (they used two screws and the ring pulls I got only needed one), the "cracks" down the middle of each dresser since I wanted a flat front, and any imperfections in the veneer. Let it dry, sand, apply more wood filler as needed, rinse and repeat. Once I felt like everything was smooth (and fully dry), I began priming using Zinsser oil based primer, since I knew it would stick to the veneer. I added Penetrol to the primer to help it go on smoothly and used a combination of a good Purdy brush and foam roller. I still had issues with it going on smoothly, but I sanded with 220-grit sand paper in between coats.
Once the primer was dry, I began painting. I used Benjamin Moore slate teal in semi gloss latex, as it was a close match to the blue I wanted to pull from the zig-zag fabric on my grandma's old cane back chairs and it also compliments the light blue-grays in the room. I actually had them mix it at 125% saturation, because I wanted it to be a little richer than the swatch. There was a more navy blue color above it on the swatch (I think it was called twilight), and I wanted to do 50/50 of those colors, but that wasn't possible without buying a quart of each, which was just too much paint. I should have gotten Floetrol to add to to paint, as I had a lot of issues getting the paint to go on smoothly. Latex paint just dries too quickly, so it was tough. Unfortunately, I had to give up here, because I had a friend coming in town and couldn't spend any more time on it.
Exhibit B: the new old dresser with burnished bronze ring pulls from Lee Valley
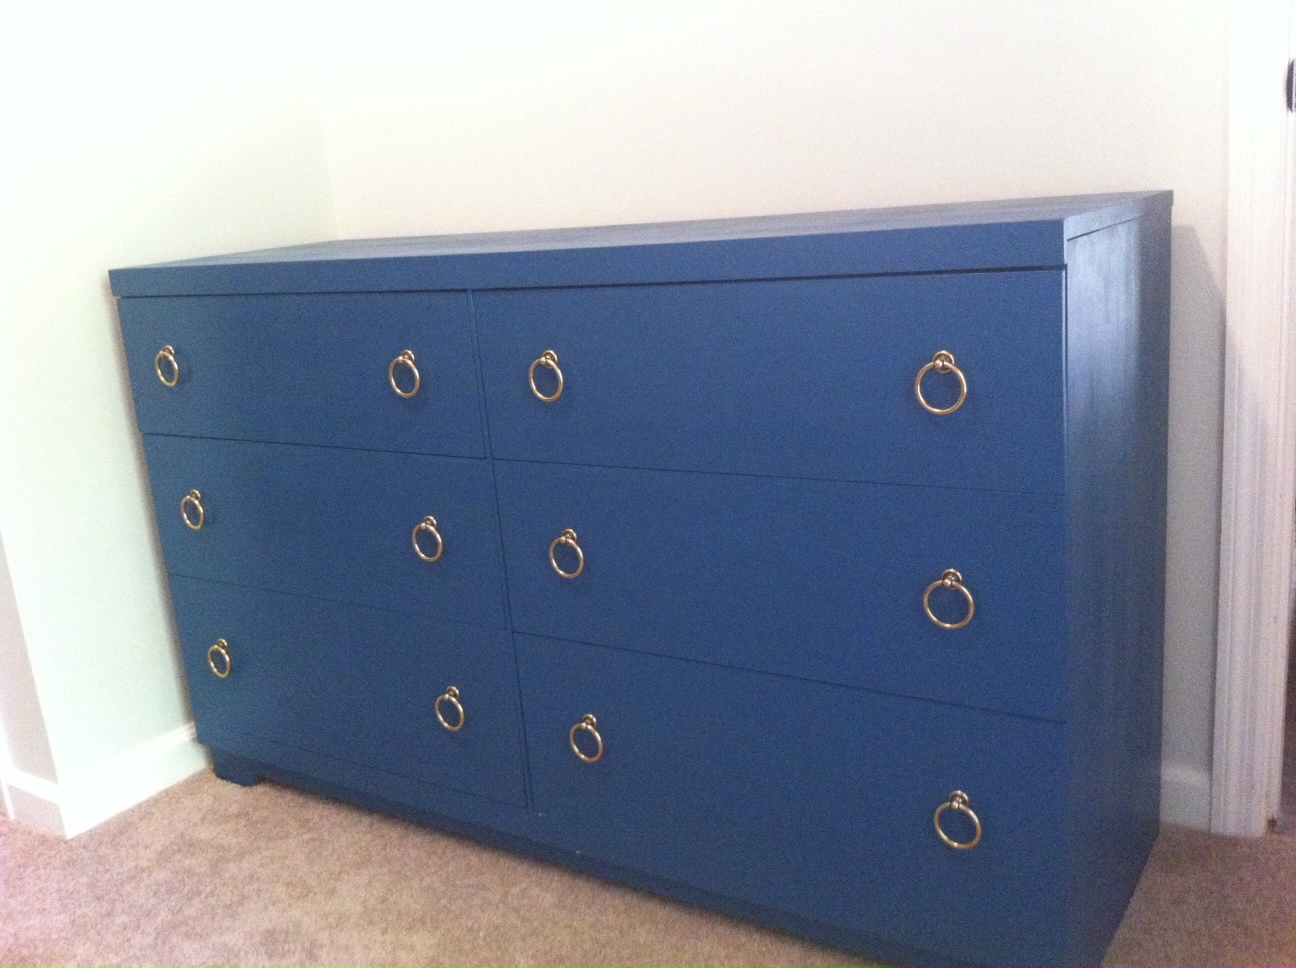
At some point, I will sand everything back down with fine sand paper, add Floetrol to my paint and try to get a smooth coat, but it's actually not noticeable in the room (outside, the brush strokes were glaring). After that, I will add a low/no-VOC clear coat, such as Acrylacq to give it some sheen and wipe-able protection (and so I can bring it back in the room and not suffer through the fumes, even though I secretly like the way they smell). Although the above picture is not a very accurate depiction of the color, you get the idea. More pictures when it's really done!


2 comments:
First to introduce myself. I am Annie P (fellow blogger). Nice to meet you.
Secondly, love that home improvement job! Dresser looks great!
It looks great, Kristin. You are too talented in too many areas! Now you need to teach me to cook and how to re-finish furniture. Miss you.
Post a Comment